10. Scheduling a Class
In Studioware, a single class can be scheduled multiple times. There is no need to create multiple classes with the same attributes, simply create a single class and schedule that class at multiple locations at different dates and times with different instructors.
For example, in the previous Getting Started guide, we create the class "Introductory Class", set the tuition to $150.00, and created a payment schedule for the tuition. We can now schedule this class as many times as needed. For example, we could schedule the class for Thursday evenings at 7:00 PM. We could also schedule the class for Saturday mornings at 9:00 AM. Studioware keeps track of the scheduled classes that are complete versus the scheduled classes that are currently active.
To schedule a class, follow these instructions:
-
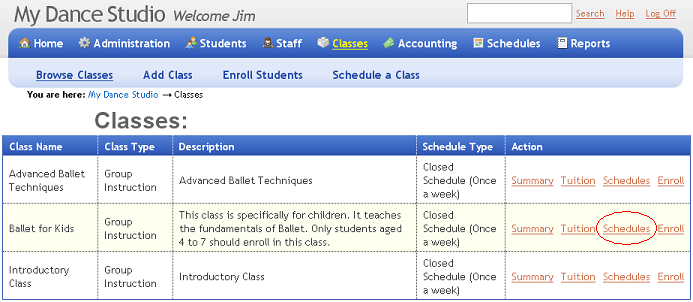
To get started, click on the "Classes" main menu. A list of all the classes will be displayed:
-
Click on the "Schedules" list next to the class you want to schedule. The list of active schedule classes will be displayed:
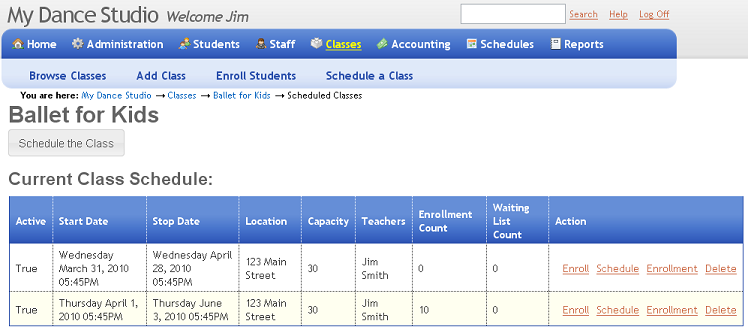
- Click on the "Schedule the Class" button. There are three steps involved in scheduling a class.
-
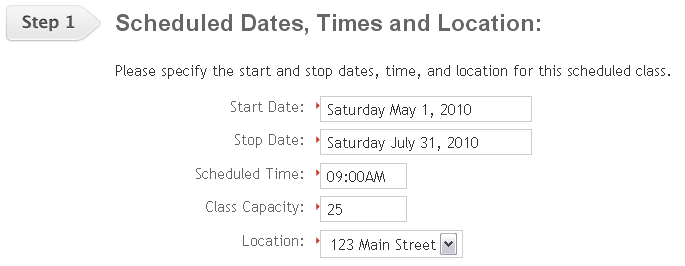
In Step 1 of scheduling a class enter in the Start and Stop dates of the class, Specify the time of the class, enter in the class capacity (that is, the maximum number of students that the class can accommodate), and select the location of the class:
-
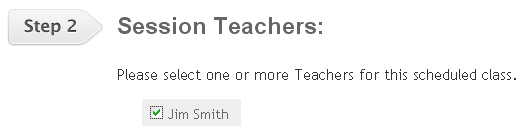
In Step 2, select one or more teachers for the scheduled class:
-
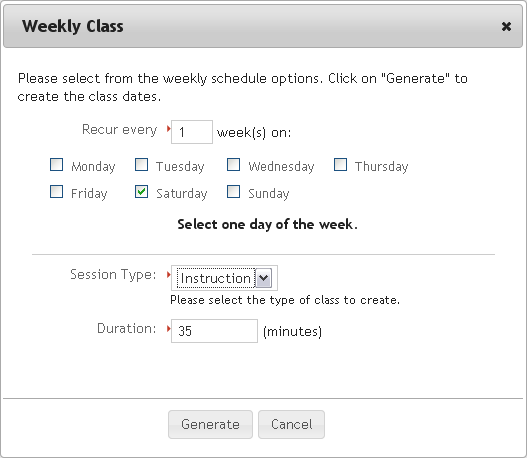
In the last step for scheduling a class, we need to specify all the dates the class will meet. Fortunately, Studioware provides the "Generate Class Dates" button to quickly generate all the class dates between the Start and Stop dates. Simply click on the "Generate Class Dates" button, verify that the correct day of the week is selected, select the session type and duration, and click on the "Generate" button:
-
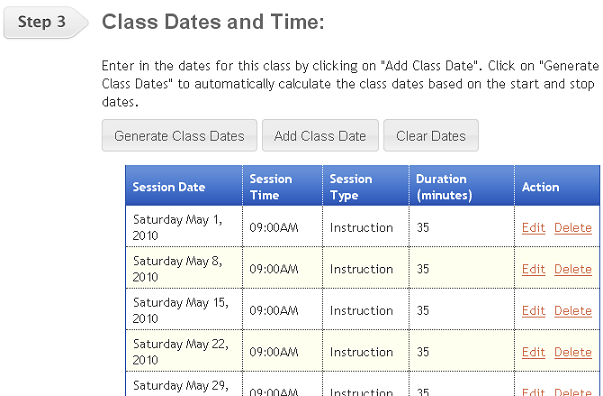
Studioware has generated all of the dates the class will meet. You can change any of the generated dates or time simply by clicking on the "Edit" button next to the class date to reschedule. Furthermore, you can manually add additional dates by clicking on the "Add Class Date" button. The generated scheduled dates appear as follows:
- Finally, click on the "Save" button to schedule class. The schedule class is now ready to enroll students.