Batch Invoices
Batch invoices allow you to create invoices for all students in your school. In general, with Batch Invoices, you specify the start date and stop date, click on the "Create" button, and Studioware creates all the invoices.
Invoices will only be created for students that have financial transactions in their student account between the specified start and stop date, and only if those transactions are not affiliated with another invoice. That is, a financial transaction can only be on one invoice at a time. Therefore, if you create 2 invoices for a student for the same time period, the first invoice will contain all the financial transactions, and the second invoice will be empty.
To create invoices for all students in the studio, follow these instructions:
- Click on "Account" in the main- menu.
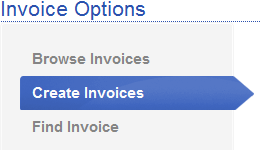
- Click on "Invoices" in the sub-menu.
- Click on "Create Invoices":

- Enter in the invoice start date, stop date, and due date. Studioware will search all student financial accounts for transactions that are greater than or equal to the start date, and less than or equal to the stop date. This set of financial transactions will be summarized on the invoices:

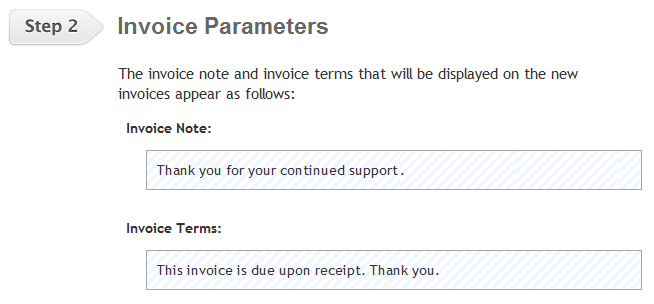
- Verify the invoice settings. The settings are presented for verification only and can only be changed in the invoice settings:

- There are several other miscellaneous settings that can be set and will affect the creation of the invoices:

The miscellaneous settings allow you to:
- Email the newly created invoices to the students, families, and/or payees.
- Send a copy of newly created invoices to the staff member creating the invoices. That way, the studio staff member can view all the invoices that were sent to the students/families/payees.
- Send a notification/report to the staff member creating the invoices once the invoices are created.
- Click on the "Create" button to create the invoices.